
The 15-Minute Maintenance Routine
A real, step-by-step maintenance routine you can do in about 15 minutes twice a year — the same things our crew checks on a service call, explained so you can catch problems before they strand a spring on your driveway.
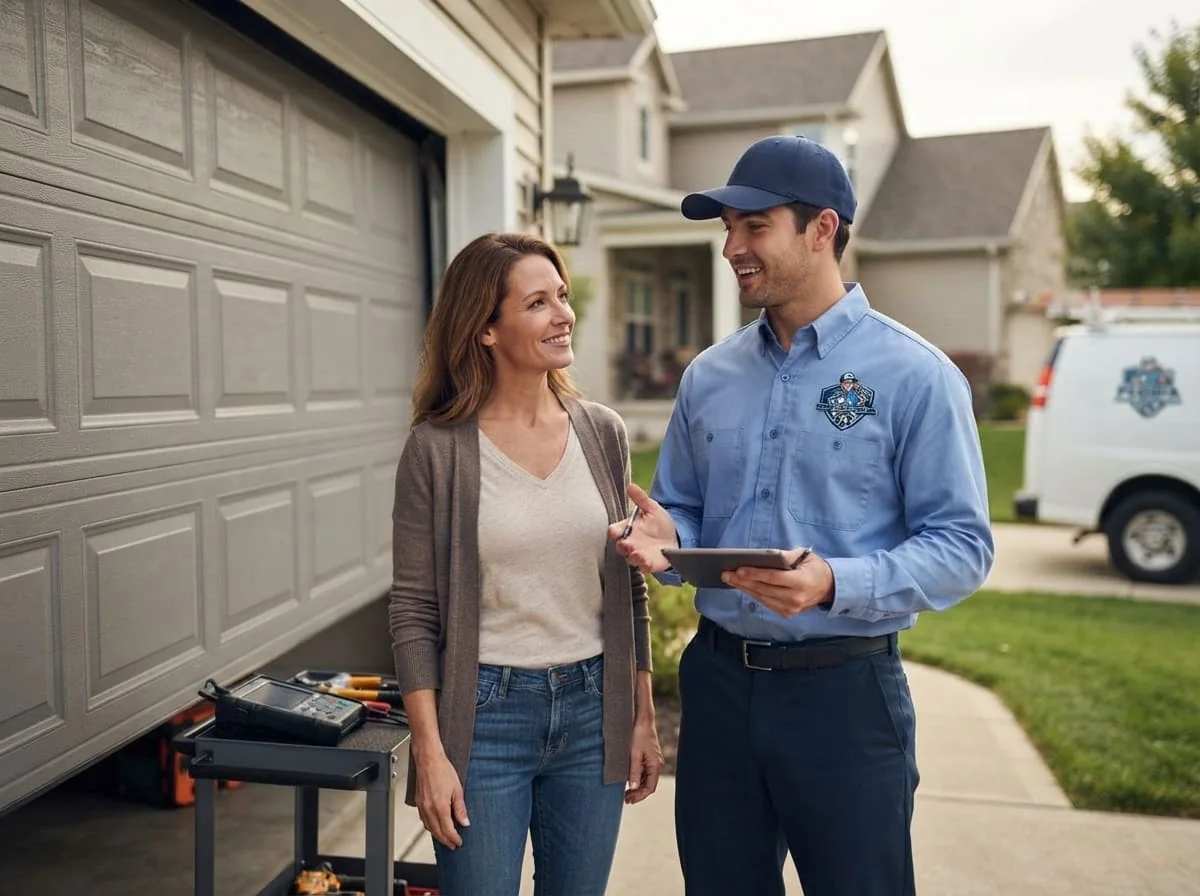
Why 15 minutes, twice a year, actually matters
Most of the service calls our crew runs in the Tri-County Area aren't for doors that failed out of nowhere. They're for doors that gave off warning signs for months — a roller that ground a little louder every week, a cable strand that frayed a little more every open cycle, a hinge that worked its screws loose a sixteenth of an inch at a time — until the day the whole assembly finally quit, usually on the coldest morning of the year or the morning you're already running late. Garage doors are the largest moving object in most houses, they cycle open and closed a thousand-plus times a year for a typical family, and they're mounted with high-tension steel springs that store enough energy to do real damage if something lets go unexpectedly.
None of that means you need to hover over your door every weekend. It means a short, focused inspection twice a year — once in early fall before the cold sets in, once in spring after the freeze-thaw cycle has had its say — catches almost everything that turns into an emergency call. This is the actual checklist we'd run on your door if you called us for a routine tune-up, minus the parts that genuinely call for an insured, background-checked technician. I'm going to tell you exactly which parts those are, because half of doing your own maintenance well is knowing where your job ends and ours begins.
What you'll need before you start
You don't need a toolbox full of specialty gear. A stepladder, a flashlight or phone light, a rag, a can of garage-door-specific lubricant (not WD-40 — more on that below), a tape measure, and about 15 minutes of uninterrupted time is genuinely all it takes. Do this with the door closed for most steps and the opener unplugged or disconnected from power while you're working near moving parts. If you've got kids or pets who like to wander into the garage, this is a good five minutes to close the door to the house first.
We keep a stock of these lubricants and basic hardware at our own shop on Main Street in West Bluff, so if you're not sure which product is actually meant for garage door hardware versus general household use, swing by or call and we'll point you at the right can rather than have you guess in a store aisle.
- Stepladder tall enough to reach the top roller and the opener rail comfortably
- Flashlight or phone light — garage lighting is rarely good enough to spot hairline cracks or fraying
- Clean rag for wiping down tracks and hardware before lubricating
- A silicone-based or lithium-based garage door lubricant, sold specifically for garage doors or door hardware
- Tape measure or a piece of scrap wood, for the balance test
- A notepad or your phone, to jot down anything that looks off so you remember it later
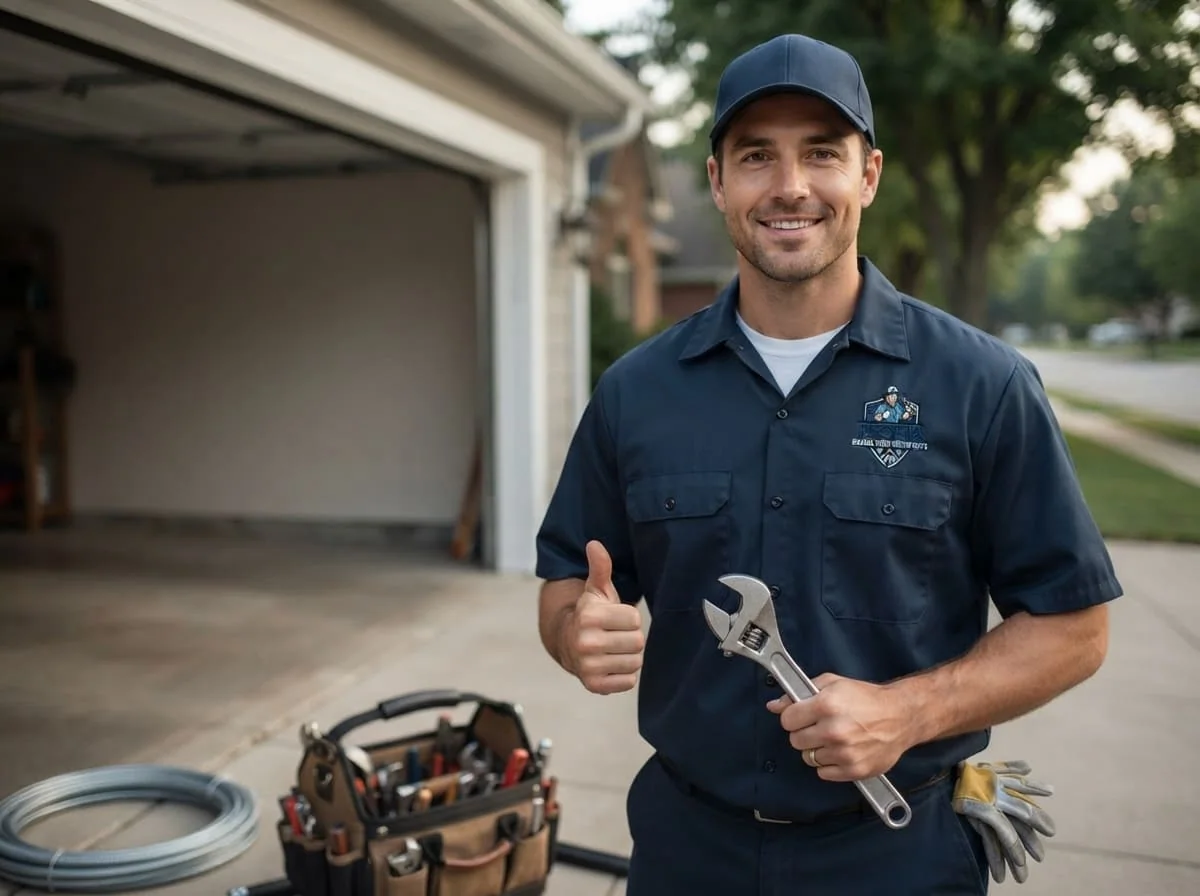
Step 1: Look at the whole door while it's closed
Start simple. With the door fully closed, walk around it — inside and outside if it's on an exterior wall you can access — and look at the panels themselves. On steel sectional doors, look for rust bubbling up along the bottom panel especially, since that's the section that sits closest to snowmelt, road salt spray, and standing water most of the winter. On any door, look for dents that have started to warp a panel's seams, since a warped panel can bind against the track even if the track itself is straight.
Check the weatherstripping along the bottom of the door and up the sides. Illinois winters are hard on rubber seals — ours crack and go brittle faster here than in milder climates because we swing from single digits to 40-degree thaws and back multiple times a winter, and that expansion-contraction cycle is what actually kills weatherstripping, not just cold on its own. A cracked or missing bottom seal means cold air, meltwater, and rodents all have an easier path into the garage. It's a cheap fix if you catch it in fall; it's a much colder February if you don't.
Step 2: Check the springs — but don't touch them
This is the part of the checklist where I want to be direct with you: look, don't touch, don't adjust, don't attempt a repair. Torsion springs — the ones mounted horizontally above the door on a shaft — are wound under enough tension to cause serious injury or worse if they let go while someone's working on them without the right bars and clamps. This isn't us being precious about our own line of work; it's the single most common serious injury we see in this trade, and it's almost always a homeowner who watched a video and figured it looked simple.
What you can safely do is look. With the door closed, look at the spring(s) above the door for any visible gap in the coil — a gap wider than the rest of the coil usually means the spring has already broken, even if the door is still operating on the second spring (many double-car doors run two). Look for rust streaking down the spring, which weakens the steel over time. If you see a gap, a rust-heavy spring, or the door has started sounding like a loud bang followed by the door feeling suddenly heavier to lift by hand — that's a broken spring, full stop, and that's a job to call us about, not a DIY step. We've got a full breakdown of why these fail more often in winter in our piece on cold-weather spring failures if you want the mechanical reasons why.
Step 3: Test the cables and drums
The lift cables run from the bottom brackets of the door up to the drums at each end of the torsion shaft, and like springs, they're under real tension — but a visual check here is safe and worth doing. With the door closed, shine your light on the cable near the bottom bracket on each side. You're looking for individual wire strands sticking out from the main cable (fraying), rust, or any strand that looks flattened or kinked. A cable that's fraying near the bottom bracket is usually a matter of weeks or months from failing outright, and when a cable snaps, that side of the door drops unevenly, which can jam the door in the track or, worse, let a panel come loose entirely.
Also glance at the drums themselves, up near the springs — the cable should be wound neatly in the grooves, not overlapping or bunched to one side. Bunched cable is often an early sign the door's balance has shifted, which ties back into the balance test later in this checklist. If anything here looks frayed or off, this is another one for our cable repair team rather than a DIY fix — cables under tension are not a place to save money by doing it yourself.
Step 4: Inspect rollers, hinges, and track alignment
This is the step most homeowners can do the most good on themselves, and it's genuinely satisfying once you get the hang of it. With the door closed, run your light along both tracks from bottom to top. The track should run straight and plumb, with consistent spacing between the rollers and the track walls — no pinch points, no spots where the track visibly bows away from the wall bracket. A track that's come loose from a bracket, even slightly, is one of the more common causes of a door that runs rough or grinds partway through its cycle, and it's often something our track repair crew can straighten out in one visit rather than needing full replacement, if it's caught before the door jumps the track entirely.
Next, check each roller. Steel rollers should turn freely and shouldn't wobble side to side in the bracket. Nylon rollers (the quieter kind most homes have now) should show even wear, not flat spots or visible cracking in the roller itself. While you're up there, check every hinge for cracks around the mounting holes — this is a stress point, and a hinge that's started to crack at the corner is a warning sign the panel's seams have been under uneven load, sometimes from a roller that's already binding. Snug up any visibly loose hinge or track bracket screws with a screwdriver, but if a screw hole has stripped out in the wood jamb or the track bracket itself is bent, that's worth a call rather than forcing new screws into a hole that won't hold.
Step 5: Lubricate the right parts (and skip the wrong ones)
Lubrication is the single highest-value five minutes in this whole routine, and it's also where we see the most DIY mistakes. The rule: lubricate anything metal that moves against metal — rollers (the bearings, not the outer nylon on nylon rollers), hinges, the torsion shaft bearings at each end, and the opener's drive rail if it's a chain-drive unit. Do not lubricate the tracks themselves; a lubricated track actually attracts more dust and grit and can make rollers slip rather than roll. And skip WD-40 for this job entirely — it's a solvent and light penetrant, not a long-lasting lubricant, and it can actually strip existing grease off bearings and leave them drier than before. A silicone-based or white lithium garage-door-specific lubricant, applied lightly and wiped of excess with your rag, will run quieter and last through a full season.
Do this with the door closed and cycle it open and shut by hand once (opener unplugged) after lubricating, so the lubricant works into each roller and hinge as it moves, rather than sitting on the surface.
Step 6: Test the safety reversal and auto-reverse sensors
Every garage door opener manufactured since 1993 is required to have two independent safety systems: a mechanical force-sensing reversal (the door reverses if it meets resistance while closing) and photoelectric auto-reverse sensors — those small eye-level boxes mounted a few inches off the floor on each side of the track, which stop and reverse the door if the beam between them is broken. Testing both takes about a minute and is genuinely important, not a formality: this is the system standing between your door and a real injury to a kid, a pet, or a car bumper.
For the mechanical reversal: place a 2x4 or a roll of paper towels flat on the ground where the door closes, and run the door down onto it. The door should reverse back up on contact. If it doesn't, or if it takes noticeably more force than it used to before reversing, the force setting needs adjustment — most openers have a simple dial or menu setting for this, in the owner's manual for that specific unit.
For the photo-eye sensors: run the door down and, without touching the door, wave your hand or a broom handle through the beam between the two sensor eyes partway through the close cycle. The door should stop and reverse immediately. If it doesn't reverse, check first that both sensor lights are solid and aligned (a knocked-out-of-alignment sensor is the most common cause, often from a stray basketball or a bike handlebar), and if realignment doesn't fix it, that's a job for our safety sensor troubleshooting team — this isn't a system to leave malfunctioning while you wait for a convenient weekend. The Consumer Product Safety Commission has documented entrapment injuries from doors with disabled or malfunctioning auto-reverse systems, which is exactly why this feature became federally mandated in the first place.
Step 7: Run the balance test
Balance is the test most homeowners have never heard of, and it's the one that tells you the most about how hard your opener is working and how close your springs are to needing attention. With the opener disconnected (pull the manual release cord), lift the door by hand about halfway and let go. A properly balanced door should stay roughly in place — maybe drifting an inch or two, but not slamming down and not shooting upward. If it drops quickly when you let go, the springs have started to lose tension and are no longer doing their share of the lifting work, which means your opener's motor and gears are compensating for that gap every single cycle. That extra strain is exactly how a small, affordable spring adjustment gets skipped for months and eventually turns into a full opener replacement, because the motor was quietly overworking itself long before anyone noticed.
If your door fails the balance test, don't try to add spring tension yourself for the reasons covered in Step 2 — book a spring adjustment and mention that it failed the balance test specifically; that tells our tech exactly what to check first.
| Balance test result | What it likely means | What to do |
|---|---|---|
| Door stays roughly in place | Springs are properly tensioned | Nothing — reconnect opener and move on |
| Door slowly creeps upward | Springs are slightly over-tensioned | Note it, recheck at next 6-month interval |
| Door drops when released | Springs have lost tension | Schedule a spring adjustment before it worsens |
| Door won't stay in place at all, feels very heavy | Significant spring wear or a partially failed spring | Call promptly — treat as a near-term priority |

Danny Kowalski
Owner and lead technician at Peoria Garage Door Repair Guys, serving Peoria, IL since 2015.
FAQs
How often should I actually do this whole checklist?
Twice a year is the sweet spot for most Peoria-area homes — once in early fall before the hard freezes start, and once in spring after the winter's freeze-thaw cycles have had their way with rubber seals and hardware. If your door gets heavy daily use (a home business, a big family, a detached garage used as a workshop), a quick visual pass every few months isn't overkill.
Can I use WD-40 on my garage door if that's what I have on hand?
It won't ruin anything in a single use, but it's not the right long-term product. WD-40 is a solvent-based penetrant meant to loosen rust and displace moisture, not a lasting lubricant — it evaporates and can leave bearings drier than before. A silicone-based or white lithium grease made for garage doors will hold up through a full Illinois winter and run quieter.
My door passed the balance test but still sounds louder than it used to. Is that a problem?
Not necessarily an emergency, but it's worth paying attention to. Increased noise with normal balance is usually rollers or hinges due for lubrication or nearing the end of their service life, rather than a spring or cable issue. Run through Steps 4 and 5 again, and if it's still noisy after a fresh lubrication, give us a call and we'll listen to it over the phone before deciding if a visit's needed.
Is it safe for me to replace a garage door spring myself if I buy the right one?
We'd genuinely rather you didn't. Torsion springs are wound under several hundred pounds of tension using specific winding bars and clamps, and the injury pattern we see from DIY spring attempts — broken fingers, facial injuries, worse — is consistent enough that it's simply not a job worth the risk of the labor cost saved. It's one of the very few steps on this whole list we draw a hard line on.
What's the single most common thing you find that homeowners could have caught themselves?
Photo-eye sensors knocked out of alignment, honestly. It's almost always from something bumping the bracket — a stored bike, a kid's basketball, even a garden hose reel — and it takes thirty seconds to check and realign, but most people don't know to look until the door stops reversing properly and they call us confused about why.
Does a well-maintained door actually use less energy in winter?
Indirectly, yes. A door with intact, flexible weatherstripping and properly aligned panels seals against drafts far better than one with cracked seals or a panel binding slightly in the track, which matters if your garage is attached or you've got insulated doors. The maintenance side — sealing gaps, not just insulation rating — is often the cheaper win, and it's worth doing regardless of which door you have.
Have a Garage Door Problem Right Now?
Skip the guesswork — call Peoria Garage Door Repair Guys for a fast, honest diagnosis.